

Green onions are probably one of the most versatile vegetables, it is easy to grow, relatively cheap, and present in many recipes. To all these qualities we can add that it is one of the easiest plants to grow in water, especially if we have a bulb of a good size. The question is how to grow green onions in water?
The green onion by storing a lot of energy reserves in the roots makes it an excellent option to grow in water, it will respond perfectly to cutting and water exposure.
Although the process is relatively simple, we only have to cut the white part of the green onion and place it in a container with water and wait. Below we detail step by step how to do it and what to take into consideration to recycle your green onions after cooking.
In our blog, we always say that we must know the plant well to obtain favorable results. In many cases, the gardener hopes to get results but fails just by not knowing the basic care that the plant needs.
Knowing the Plant
The green onion is a biennial plant, which means that it completes its reproductive cycle only in the second year, however, for cooking it must be harvested in the first year. If we are sowing from seed it will need around 70/90 days to be ready for the harvest. If we sow it in water from the bulb and have optimal temperature conditions (20 °C) we can shorten it to 60 days, including 50.
The green onion is ideally sown in autumn and spring, still, it performs well throughout the year. During the vegetative, the green onion can tolerate low temperatures and also can stand short-term frosts very well, yet to form a bulb it needs higher temperatures (20-25 ° C) and long days, that is, from 12 to 16 hours of light. Fewer hours of light than required (short days) will promote only leaf growth.
How to Plant Green Onions in Water – Step by Step
Step 1
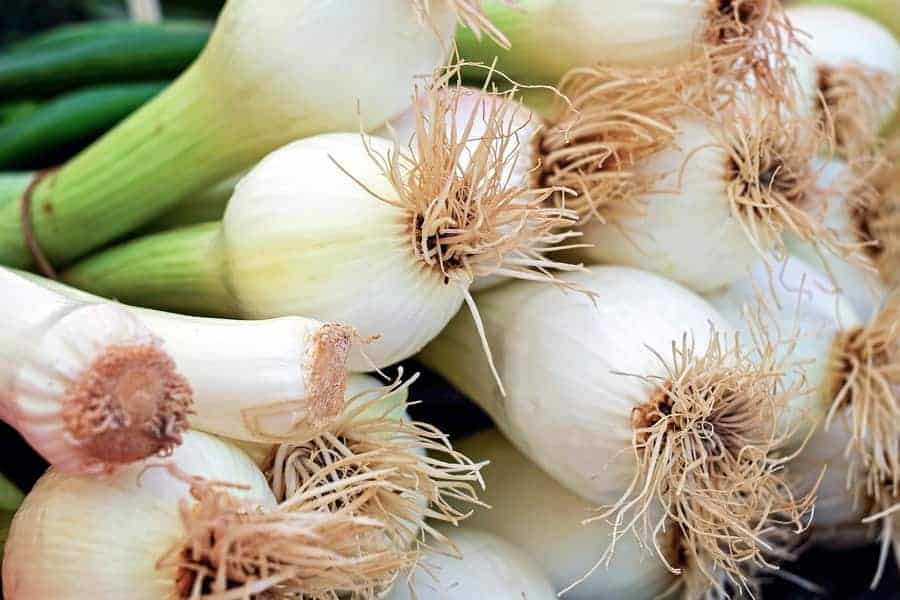
Cut off the end of the white onions with a sharp knife, cutting at least 2/3 cm from where the roots begin. It is important to make a clean cut, if the cut becomes messy it can be an entry point for diseases or problems. The knife must be super sharp.
Step 2
Fill a clear glass or container with 2 cm of warm tap water and carefully place all the cuts in the water with the roots facing down. There is no need to add any fertilizer yet, if we decide to fertilize the right way to do would be after the plant show signs of root development.
If you want to secure a good root development we can consider using some rooting agent to promote growth and speed up the process.
Below are some options, homemade and commercial products.
Coffee: Coffee has many uses, one of which is that it is a good help when it comes to rooting. It’s a very simple process, get 3 tablespoons of coffee and blend it with 2 cups of water, strain to remove the remains, and let it sit and cool for a few mins. After this, place the bulb to rest for about 20 min in the coffee concentration, remove it, and go to step 3.
Cinnamon: This rooting agent is one of the simplest and fastest to make, in a liter of water add 3 tablespoons of ground cinnamon and let it rest overnight. The next day we can let the bulbs rest in preparation for about 20-30 min, to later go to the water.
Apart from the natural we also have chemical rooting hormones. These preparations are used more for productive purposes, contrary to popular thinking these hormones are safe and do not alter the nutritional properties of the plant. Among the most common components is 3-Indole Butyric Acid (IBA). As general recommendations, liquid rooting hormones should not be mixed with other products to avoid altering the properties of the rooting agent.
Step 3
Make sure the heads of the green onion stay above the waterline. We do not want to drown the plant, so the part of the remaining foliage must remain above the surface at all times.
Step 4
Place the glass near a window that receives sunlight for most of the day. If you put the glass in a place that does not receive sunlight, the plant will continue to grow but much slower. Remember that ideally, the plant should receive between 12-14 hours of sun daily. Don’t worry if you get a little less, 30/40 min less will not make a big impact.
Step 5
Drain the water every three days and replace it with fresh warm water. Put the glass back on the window. It is important to renew the water regularly to avoid the formation of unwanted microorganisms that may be present in the water.
Wait for another three to four days and examine the roots for signs of newly grown roots, which would occur in about a week. If the new roots are not visible, change the water again.
Keep changing the water every three days until the green onion is 3 to 6 cm tall, which usually takes about two weeks.
Step 6
At this point, you should already have onions with grown and healthy foliage. Since water is not the most optimal or natural medium for the full development of the plant, we recommend removing the onions and planting them in the ground. Nevertheless, if we change the water and add a little liquid fertilizer to the water, we could maintain the growth without problems.
If we choose to move the plants to soil drain the water from the glass and fill a pot with three-quarters of rich organic soil. Punch with your finger into the soil to create a 2cm deep hole. Insert the green onion into the hole and cover gently, make sure that the entire white portion is below the soil line, the min distance must be 3 cm between plants to avoid competition.
Place the pot in a sunny indoor window and water when the top of the soil feels dry.
Harvest
Green onions are generally harvested before the onion bulb forms, at 70/90 days of the first year. If we let it grow more than this, we can obtain leaves with a non-characteristic flavor, since these leaves will get thicker over time and will form the flower in the second year. In general, the younger the leaves, the milder the flavor.
Green onions can be harvested multiple times throughout the season, depending on their level of maturity, is preferred to harvest them once they are at least 1.5 cm thick and 12 to 16 inches tall.
Another way to determine its maturity is color. Green onions should be green, upright, and fleshy.
When we grow it in direct water, it is not advisable to use the same bulb on more than 3 occasions. We have to take into account that the bulb has limited availability of nutrients, so by the fourth time of regrowth we can see slightly smaller leaves and they may take longer to be harvested.
Green Onion Diseases and Pests
Among the diseases and pests that attack this type of crop, the onion fly is the main one, since its larvae grow in its bulbs. If this happens, you must eliminate all the affected green onions to prevent them from spreading to the crop. Other diseases like white rot and mildew may also affect them. These two to a lesser extent when we grow it in water.
Wrapping Up on how to grow green onions in water
Green onions are the easiest plant to grow from scraps and in water. The secrets are a good sharp knife and constant water change. You can speed up the process by using some rooting agents. Harvest should be ready in 50/60 days. And remember don’t use more than 3 times the same bulb.