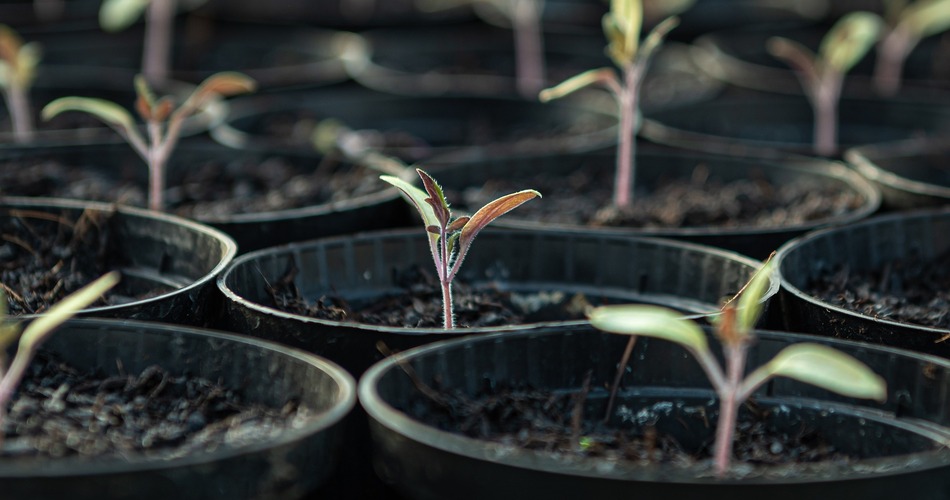
This blog will discuss how to grow tomatoes in pots and the 12 factors you must consider to have an excellent harvest.
The tomato is by far the king of the garden and is probably one of the most consumed foods in our diet. Tomatoes can be added to many dishes and have excellent beneficial properties for our health.
How to grow tomatoes in pots?
Planting in pots is not much different than planting in an open field. It is based on the same principles. Is always advisable to start with a pre-germination in seedbeds and then proceed to transplant in the final pot. This pot should be at least 30 cm in diameter and 30 cm deep. The cares are basic. Good watering, pruning, and fertilization will guarantee a solid harvest.
In the next paragraphs, we detail exactly how to grow tomatoes in pots and the 12 factors that you must take into account.
Step 1 – Pre Germination – Sowing
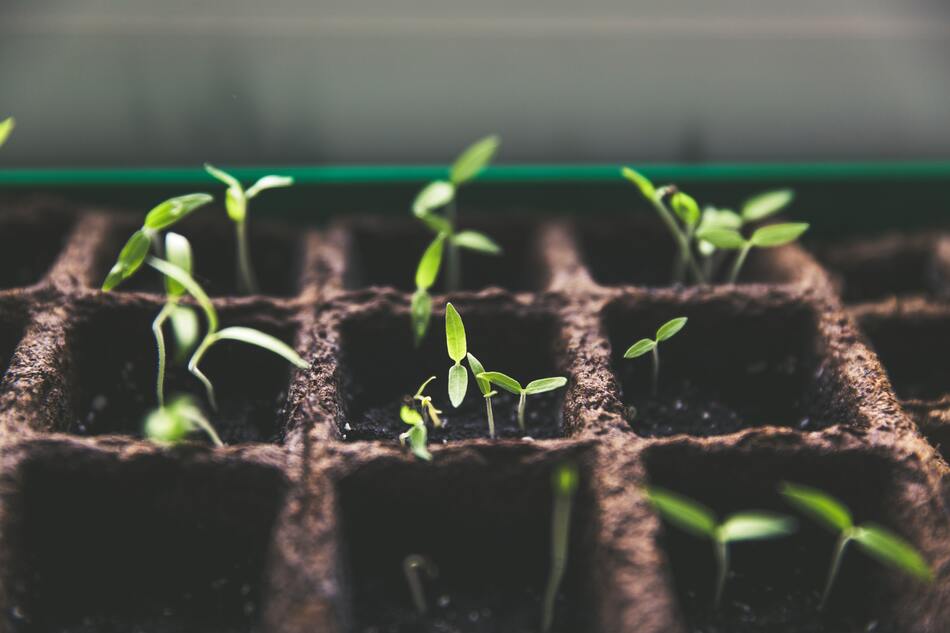
Sowing should be done preferably in warm seasons, either spring or summer. As we have indicated earlier, it is convenient to carry out a pre-germination in seedbeds; this will help the root develop healthily.
The seedbed must be filled with hummus or some commercial substrate for pre-germination. Don’t be cheap; using good soil is the pillar for good development.
To plant the seed, poke a small hole about 1 cm and place one seed per box; gently cover with soil and water.
After 7/10 days of sowing, we should observe the emergence of the seedling; during this time, the seedlings must be watered daily and gently to avoid damaging the newly emerged seedling.
Pre-germinated plants are suitable for cherry-picking the best plants that finally go to the pot. Some recommend planting various seeds in the same pot and later pruning the worst. This could generate stress due to early competition between the plants.
Step 2 – Transplant
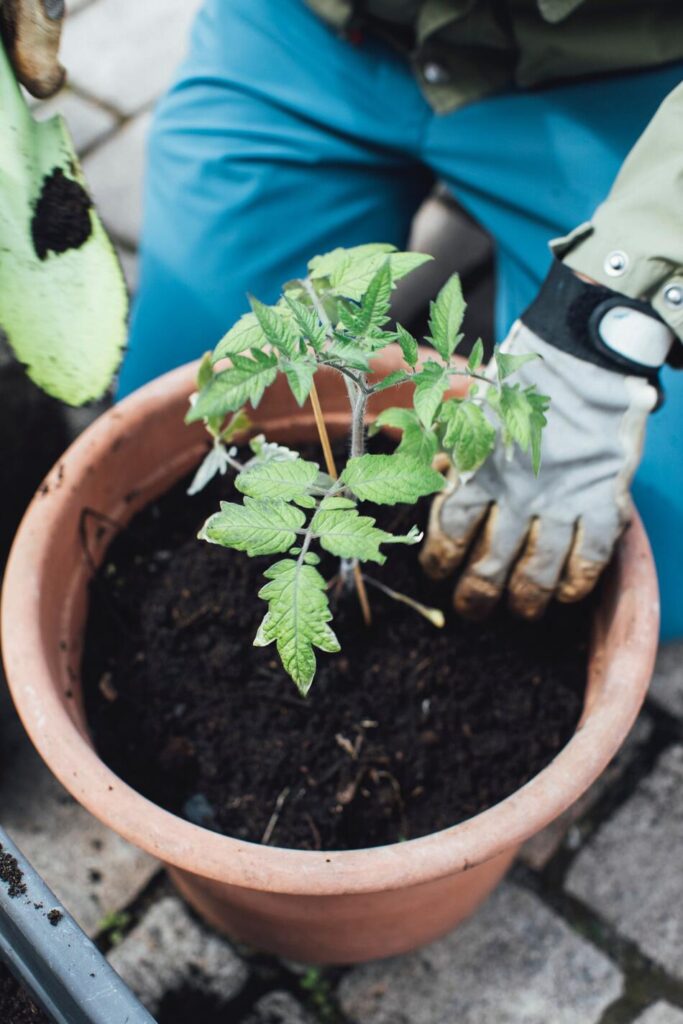
The second step is to move from the seedbed to the final pot. This process is carried out approximately 25/30 days after the sowing when our little plants have reached between 6 and 8 cm or have grown two true leaves.
The pot must be filled with potting soil, leaving 5 cm free between the soil and the upper edge of the pot. If we consider adding some fertilizer early, we can add it at the bottom of the pot after adding a layer of potting soil. Be careful, don’t add too much since the plant won’t need the fertilizer until the mid to late stages, and also, due to the watering, the nutrients will end up washing out.
The process is simple. Make a deeper hole in the middle of the pot and insert the seedlings. Gently cover with soil and water afterward.
It is important to select a pot with optimal drainage and suitable for planting various tomatoes. More about the size on point 4.
Step 3 – Cares – Irrigation – Staking
After transplanting, the work is 50% done; you will need primary care until harvest.
It is advisable to place the pot in a place with good sunlight exposure since it is a plant that requires a lot of sunlight.
For the healthy development of the plant, it is essential that the ambient temperature oscillates between 20 and 30 ºC during the day, and during the night, it can range from 10 to 17 ºC. If the pot remains in a place with a temperature below 10ºC, the plant will stop growing.
Irrigation
Irrigation must be done continuously but without flooding the pot. It is recommended from time to time, and once the plant is well established, to let the substrate dry between waterings, this would encourage the development of the root, which will force the roots to look for water in the lower strata of the pot.
By this point of plant development, around day 20 after transplanting, the size and weight of the plant will require you to train it by attaching the stem of the plant to a stick that should be buried in the pot. There is no exact number of times you should tie the steam to the stick, but it should be enough to prevent the plant from tumbling.
We can also use special tutoring nets for tomatoes; the important thing is that the plant does not topple over.
Pruning
Pruning should be done whenever required; removing the side shoots that grow between the leaves is essential to prevent small fruits. It is advisable to leave 4-5 groups of flowers; the fewer clusters or flowers we leave, the larger the fruits.
Flowering should start 25/30 days after transplanting; irrigation must be constant to prevent the flower from aborting. Fruit filling begins around day 55/60 after transplant; irrigation must be maintained and prevent the plant from suffering water deficits.
Step 4 – Harvest
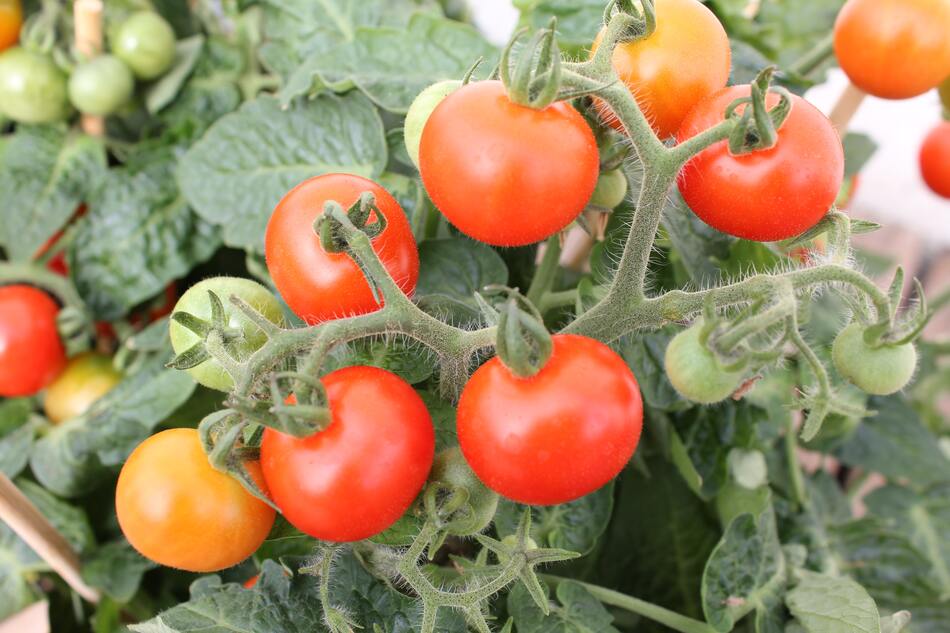
The harvest, depending on the variety, would start at 85/90 days from the transplant. We will notice that the fruits will stop growing and begin to change color. This is a sign that the harvest is ready.
12 FACTORS TO CONSIDER ON HOW TO GROW TOMATOES IN POTS
1- Variety
Choosing the variety to sow is essential and even more so when planting in pots. There are not many restrictions regarding the variety. However, choosing whether we want a plant a determined or indeterminate growth is essential.
Choosing the type of growth is essential to later plan the care that we are going to give. As you know, determinate plants grow to a certain point and then fructify for a while and die. They are more compact plants and do not need as much pruning. Its limited growth is ideal for planting in pots and perfect if you don’t have much space.
On the contrary, plants of indeterminate growth do not stop growing unless the central apex is cut off. These plants can be hard to control if we consider growing indoors.
We recommend that smaller environments choose varieties with determined growth since their specific growth makes work more predictable and easy.
2 – Seed
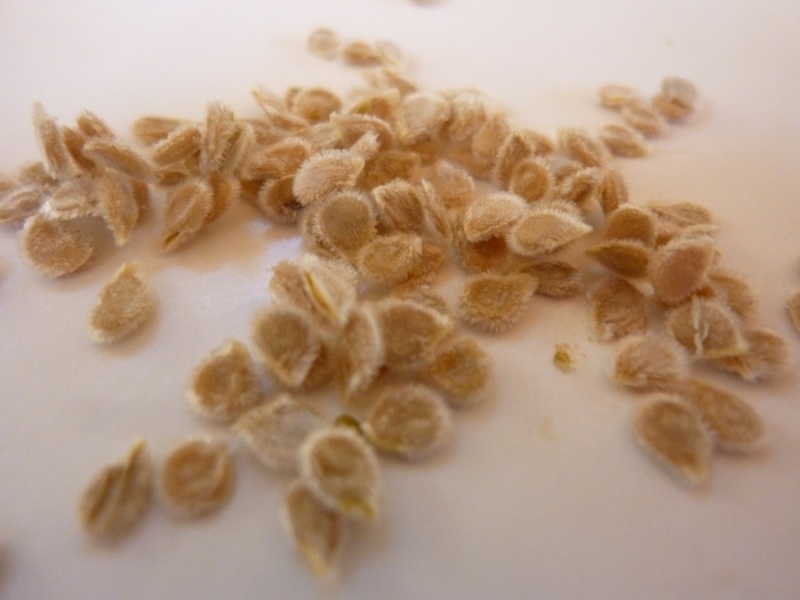
As for the seeds, we should ideally choose treated seeds with a high germination percentage. These treated and certified seeds can cost money, but we guarantee good germination.
Adding to good germination, seeds from a certified company have greater vigor and are also treated against diseases and insects. It is essential to establish healthy plants from the start; this will help make your gardening experience more enjoyable.
Homemade seeds also work, but they can present a lower germination percentage. Due to a lower germination rate, we must sow more seeds per pot to guarantee good germination. In addition to this disadvantage, homemade seeds are generally not treated, and if we do not have disease-free soil, our little tomatoes can suffer from the first day. However, the homemade seeds can be treated with fungicides and insecticides before sowing, but it could not be worth the hassle; certified seed will cost you less than a bottle of Coke.
We recommend that you spend a little on certified and quality seeds. You will not regret it.
3 – Soil
Growing tomatoes is said to be like a ladder, where each step is essential for proper development. As for the soil, a good base is crucial to have healthy plants.
If you start from 0, use a universal substrate or a mixture of coconut fiber and worm hummus. You can also reuse substrate from previous seasons by adding good compost or worm hummus to your used substrate.
Let’s spend a little on a universal substrate or good hummus. You do not want to deposit healthy seeds in a poor substrate where they will not have everything necessary to grow.
4- Pot Size
The pot should be at least 30 cm in diameter and 30 cm deep, although it is best to have a depth of about 45 cm. Avoid selecting heavy pots like concrete since they will be hard to move.
Opting for a plastic one or a light clay pot is better. Moving the pot could be helpful if adverse conditions develop in your chosen spot.
It is advisable to place a plate under the pot so that excess water will end up in the bottom. If you are setting your pot outside, there is no need to use any plate.
The pot must facilitate drainage; if not, the pot could accumulate too much water and kill the roots. Therefore, the pot must have holes in the bottom or sides.
5 – Staking – Tutoring
Staking is essential for the plant ALWAYS. I just heard a gardener friend of mine saying that is not necessary. WRONG. The plant will not die if you don’t do the staking. But it will be by far more susceptible to disease and mechanical damage since the leaves will be in direct contact with the soil/floor. Always do the staking.
Since the plant cannot sustain itself after 20/25 days, the staking can be done by burying a metal or wooden rod in the ground and tying the stem to the rod/stick. We can also use commercial meshes that are specially prepared to support tomatoes. Either one is a good option.
6 – Irrigation
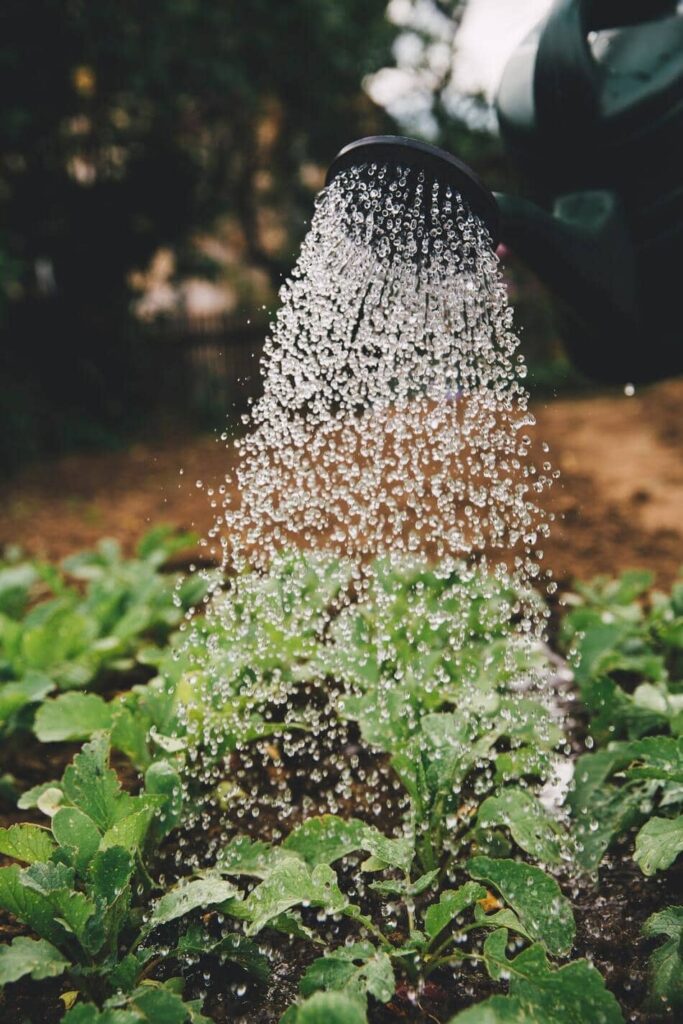
Irrigation throughout the vegetative phase must be permanent, especially in the initial stages.
The flowering and maturation stages are also critical. Water deficit during this period could produce abortion on the flowers and small fruits.
The only time you can have fewer worries about watering is in the final stages, close to harvest when the fruit changes color.
Watering should always be done in the morning when the sun’s intensity is not very high compared to midday or afternoon. We must avoid watering at night since the pot will remain wet for a long time giving an optimal environment for developing diseases.
Irrigation should be done directly to the root and never to the leaves since if we water the leaves; they will remain moist. Therefore we can encourage a favorable environment for the appearance of diseases.
Since we are sowing in pots, we must be careful and prevent the soil from drying out. When sowing in pots, the soil is limited to retaining moisture; the pots will dry faster than the open field.
7 – Temperature
Tomatoes are versatile and can be sown in many regions. However, for healthy development, the temperature must stay between 20 and 30 ºC during the day and 10 to 17 ºC at night.
If the pot remains below 10ºC, the plant will not grow. We should try to sow in spring and summer to avoid temperature problems, or if we want to sow in autumn or winter, we recommend that the plants be moved indoors to avoid frost damage.
8- General Care
The most important care is pruning the axillary shoots that grow between each leaf. It is essential only to leave a limited quantity of 4-5 per plant; if we leave too many shoots that will later become flowers, we will obtain small fruits. This happens because the energy is limited, and the nutrients will be distributed evenly throughout the flowers. But if you leave only 4-5 clusters, the energy will be concentrated, resulting in bigger fruits.
Let’s also avoid placing our pots where very intense air streams can damage the stems. Because when we sow in pots and we do it one plant per pot and the plant does not have the same protection as when we sow in the field, where the number of plants is more significant, as well as the resistance to the wind.
9 – Fertilization
Whether tomatoes are planted in the ground or in pots, they require rich fertile soil or compost.
We recommend earlier to use a general potting mix, but if you are looking to fertilize, you could use a standard 15-15-15 mix of NPK distributed in 3 applications.
The 1st application before transplanting on the bottom of the pot after adding a layer of potting mix. The 2nd before or in the early stages of flowering, and the final application in the middle of maturing.
Always apply the fertilizer 8/10 cm away from the steam. If you apply it too close, it can burn the plant.
10 – Diseases
Tomato diseases are expected if we don’t take precautions. Although many diseases can attack, there is a simple solution to all of them: prevention.
To prevent diseases, we must keep the environment controlled. We must understand that most fungal diseases develop in high humidity and heat conditions. Therefore, avoiding watering at night is the first and most crucial step. If we water at night, the pot will remain wet the whole night because it will not be absorbed immediately by the plant, leaving it with prolonged humidity. Water directly to the roots is also always advisable, avoiding wetting the leaves or flowers.
11 – Harvest
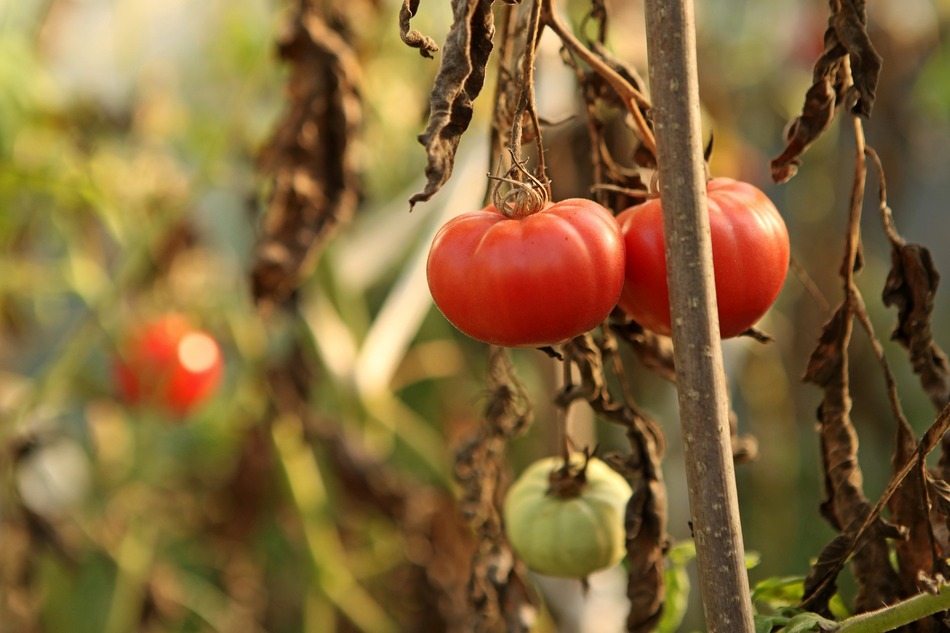
The harvest can be done in 2 batches. You can harvest the fruits once the color is 100% red, and they will be ready to be consumed immediately. The second harvest can be done when the fruit is colored only by 50%. Do not worry; the tomato, after being harvested, will continue to turn red.
12 – Conservation
We might have a conservation issue if we have a great and abundant harvest.
In all cases, we must rinse the tomatoes in water three times and then let them dry.
We must classify the riper tomatoes, which will not be able to be stored for long. These more ripe tomatoes should be 100% red and have softer skin. These tomatoes will not last long in the refrigerator. Therefore, we must cut and freeze them.
Ripe green tomatoes can be stored at 12.5ºC for 17 days without significantly reducing quality. Rot symptoms may increase if stored at this temperature for more than two weeks. Once they reach the firm mature or 100% red state, their life span is 8 to 10 days.
Mature Green: 12.5 – 15 ° C (55 – 60 ° F).
Light Red: 10 – 12.5 ° C (50 – 55 ° F).
Ripe Firm: 7 – 10 ° C (44 – 50 ° F).
Wrapping Up – How to grow tomatoes in pots
Planting tomatoes in pots is not much different than sowing in open fields. But we must be more careful in selecting the variety and irrigation. The first point will determine the height of our plant, and the second point is because when planting in pots, the soil dries faster, leaving the door open to irrigation problems.
Hoped you found this article helpful and are now familiar with how to grow tomatoes in pots.

